lundi 29 février 2016

Day 9

As the neck and the ribs are glued, we can glue the linings. Lorenzo usually use continuous linings, glued on the top and the ribs with metallic rings he get from materess springs.


As the linings we have here are made with exotic wood, we decided to make lining blocks from some willow pieces. We plane the pieces to give an angle and cut individual linings with the band saw.


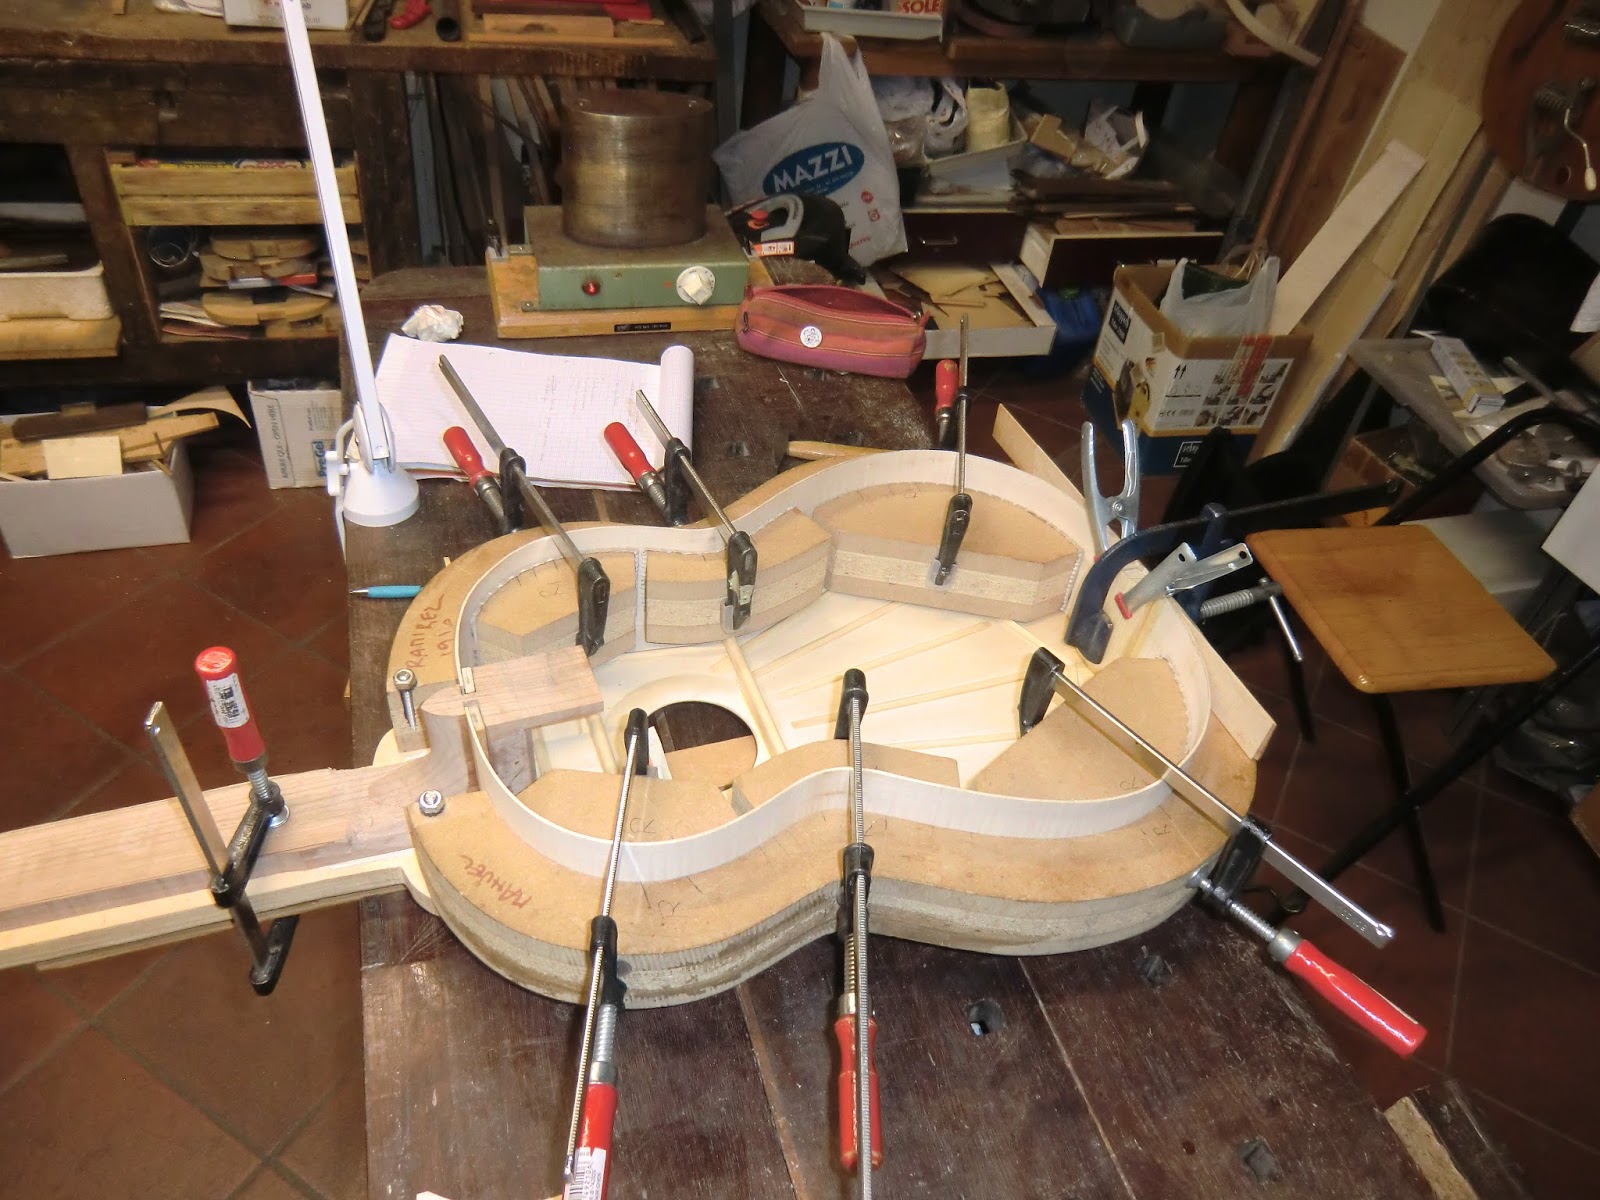
Before to glue the lining blocks, we clean them on a sanding block. We use hide glue. The idea is that hide glue will attract the two pieces of wood during the drying process, we don't need so to put some pressure while gluing, provided that the lining block is square and leave no gap with the top or the ribs. We just put a certain amount of glue on the ribs, the soundboard and the lining blocks and pose them in their place.


For the lining blocks we glue in the waste area, we shape them with a slight curve using a round rasp to make a good fit.


When all the lining blocks are glued, we make some high "peones" we will glue on the transversal braces to support them. We carve a piece of willow with a chisel and a file.


Those peones are glued with the rings we mentionned before.


Bonus : Lorenzo use some Tripoli powder mixed with oil to nourish and polish the fingerboard.


mercredi 24 février 2016

Day 8

Today is a great day, we start the assembly of all the parts we have made.

We first draw the center line on the sides and report the heel angle with a divider.


The ribs are cut following those lines.


Before to glue the neck on the soundboard, we make a step between the 12th fret and the edge of the heel.


The top needs a few adjustments to fit into the mold.


We clamp the ribs into the mold and make the pieces locking them into the heel.


Then, the end block is shaped. We want a curve in the front and a slight curve following the mold against the ribs. The bottom is not square, we make a slight angle to follow the dome of the top.


Everything is ready now.


Starting with the neck, the ribs and finishing with the end block, everything is glued with hide glue.


mardi 23 février 2016

Day 7

We mark the holes position for the Rubner tunning machine. We draw a center line and use the divider to mark the three points on each side.


We drill a first 10 mm hole with the drill press after having check the neck is square to the vice.


We finally drill the 10.5 mm holes to have a perfect fit.


 We then mark the slots with the head template, draw a center line and drill many small holes along this centerline to guide the bigger drill bit.


We open the slots with a copying saw.


To finish the slots, we use a rasps, files and sand paper with the same technique than on the head stock (we remove material from each side to the line and finally remove the midle high spot to make a flat surface). We work vertically here to have a better control.


The string slopes are made with a gauge and finished with rasp, file and sand paper. The left hand hold the gauge as close as possible from the edge to have a better control on the tool.


We finally make a slight chamfer on every edges. The head is finished and "morbida".


To finish the heel we cut the two sides with an angle and clean the surface with a plane and sand paper.


We then make a nice chamfer on each edge.


During this time, Lorenzo finish the Manuel Ramirez guitar. After having wet the surface, he sands with "sanding sponges". A first coat of hide glue and water is applied with a brush to decrease the absorption properties of the wood. A first solution of Sodio nitrite (20%) and water (80%) is applied with a cotton pad. The guitar stay then 20 minutes into a closet with UVB lamps.


The soundboard is now darker, it seems older. Another solution is applied : vinegar (20%) mixed with water to fix the colors obtained with the first prossess.


We can see here the difference before (left side) and after (right side) the vinegar solution
After half an hour into the UV closet, the soundboard is darker, the colors richer. The grain details are more pronounced and the spruce has a nice orange/brown color on some spots.