It is the first day in Modena, in Lorenzo Frignani's workshop. During
the morning, we play the three Leonardo guitars made by
the previous students who came here. One is made with cherry back and sides, another with wallnut and the third one with pear. The tops are made with spruce but were treated with UV light and different solutions to give an older and darker aspect. The backs and sides are also treated to look like rosewood or mahogany. One of them follows the Leonardo guitar plan and two are copies of Manuel Ramirez. We also play a Manuel Ramirez from Lorenzo's
collection made in 1910 and a Lorenzo Frignani from 2006.
 | |||||||||
| 3 Leonardo Guitars |
We reache then the making part of the workshop to continue another Leonardo Guitar started by the last student who came here. The wallnut neck is glued, we choose maple for the back and sides and spruce for the top. We will build this guitar according to the plan Lorenzo made from his 1910 Manuel Ramirez.

The first step is to inlay the rosette : the top is jointed and cleaned. The rosette channel is delimited with a pencil on the top using the rosette as reference. The reason is that if the rosette is not perfectly round, we are still able to make a correct channel. Using a knife, we cut the edges of the channel following the pencil lines and carve it with a gauge first and finally with a chisel to make the bottom flat.


 |
| Not easy... |
Once the rosette fit (using a hammer) into the channel, it is glued with Titebond and clamped overnight.

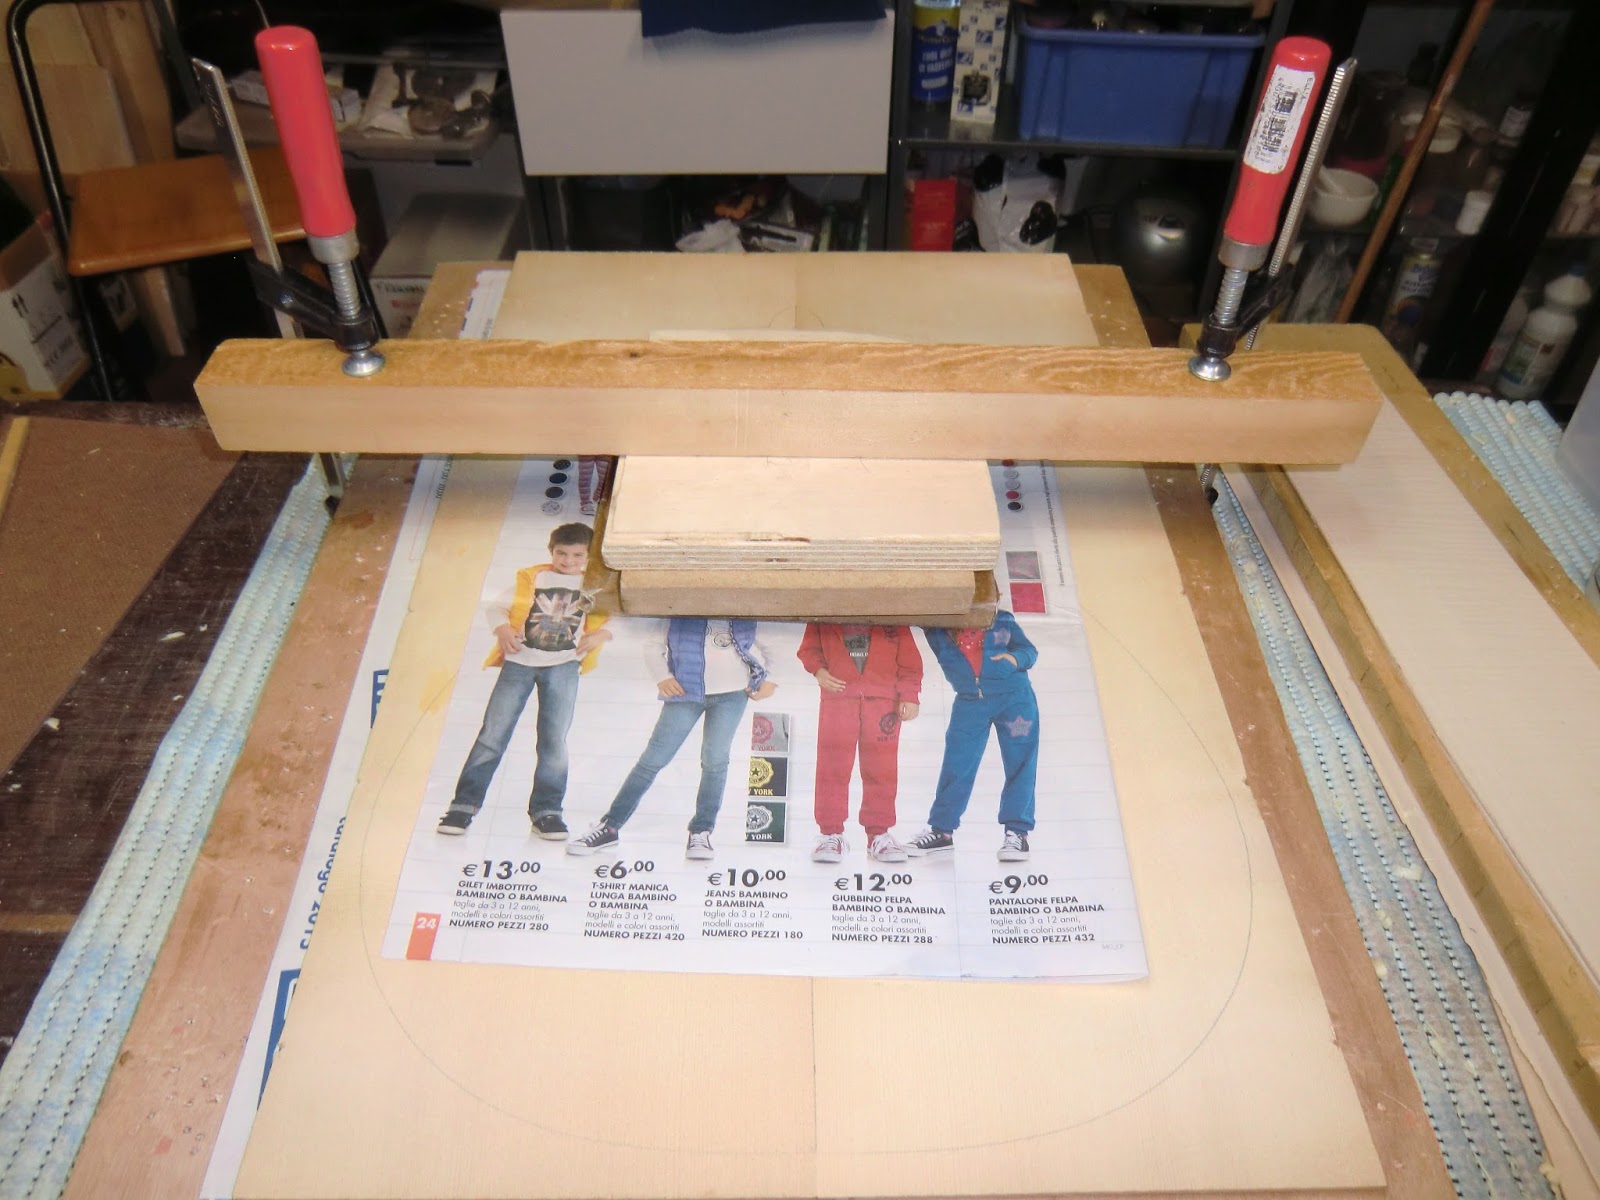
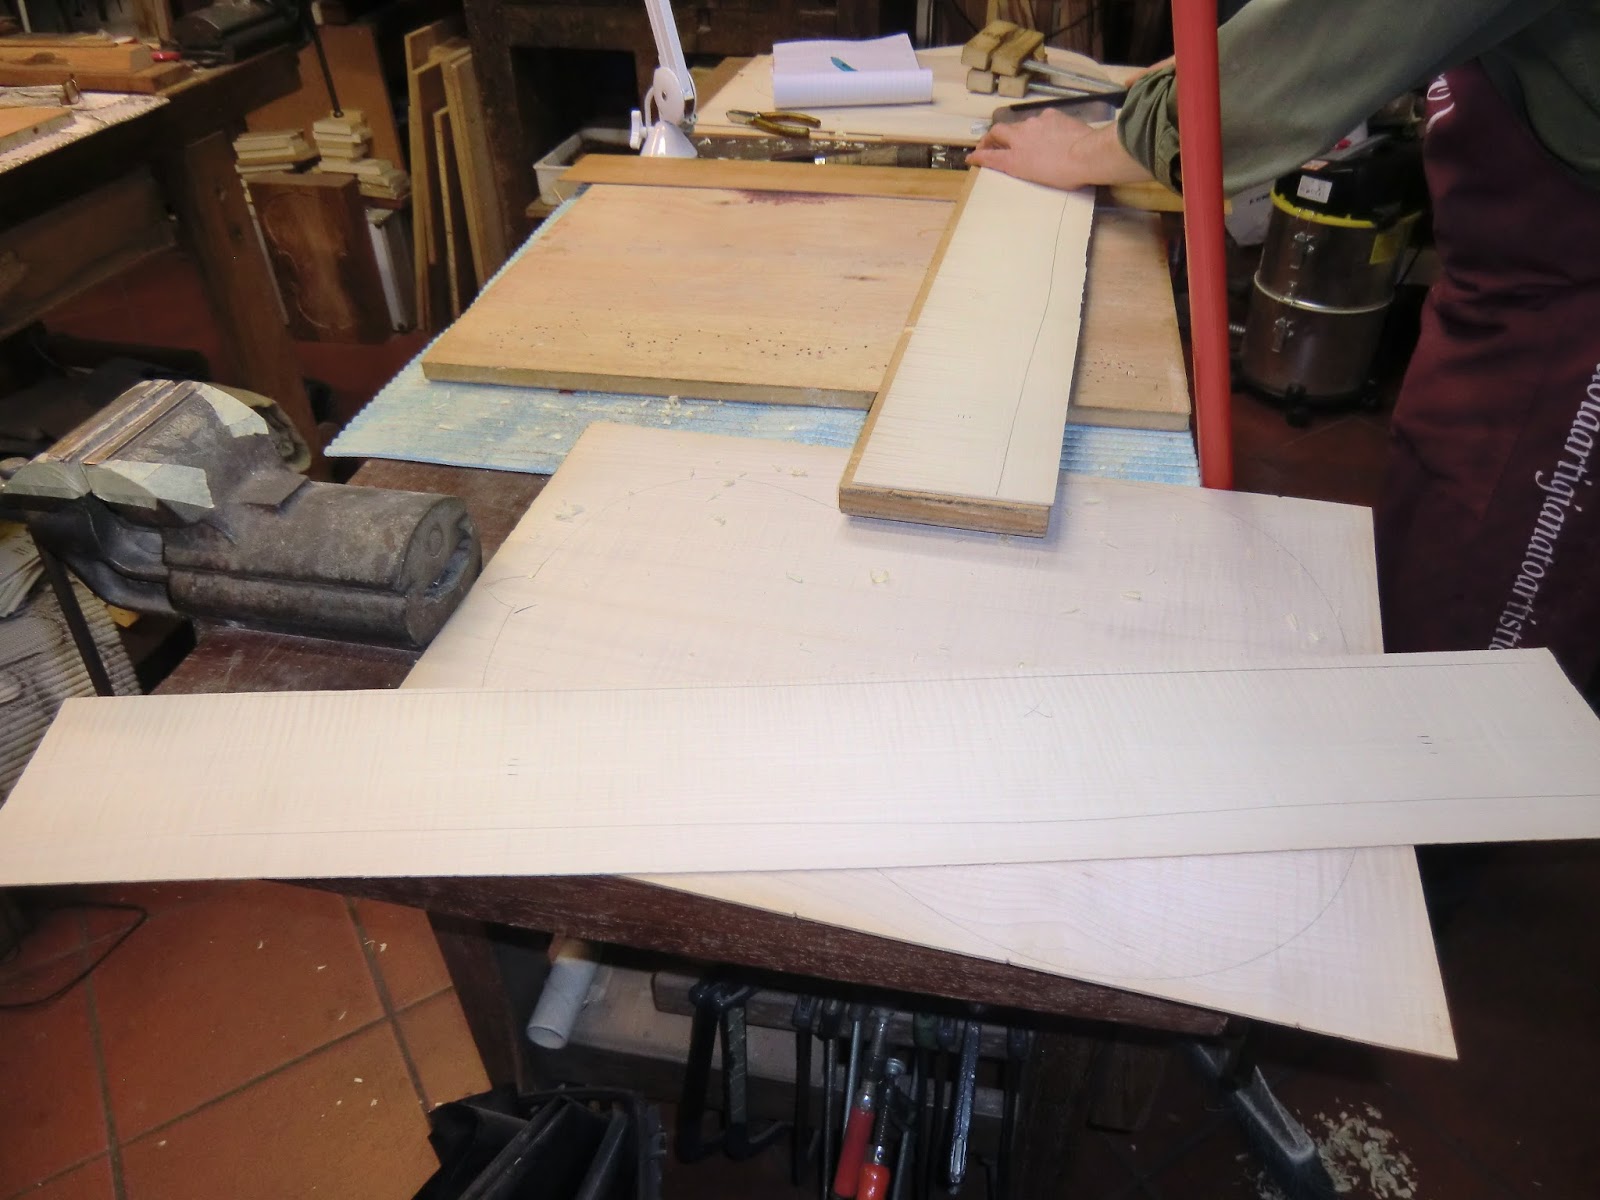
The back is already prepared, jointed and sanded to a right thickness. We draw the shape of the guitar using a template and cut it with the band saw, leaving an extra. The joint renforcement is ready too, made from a spruce soundboard Lorenzo used for a previous guitar. So we glue the renforcement strip with long reach clamps using a long block on top and a curved board as support.

 |
| And clean the glue with a stick |
It is time now to prepare the ribs : taking care of the symmetry and the wood figures, we decide how the sides will be positioned. The idea is to have a good symetry where the ribs will reached each other (the heel and end craft areas). We draw the shape from a template. The general shape of the template is lower on the heel and end block places, and higher on the waste. Lorenzo made it simply by taking the mesurments on the original guitar. We cut then the ribs with a knife, following the pencil lines.

At the end of the day, Lorenzo took off the bridge from that lute. Dangerous job because the soundboard of the lute is only between 1 and 1,5 mm thick.

The problem is that the string holes are damaged and make the strings too high (no saddle here to set up the action).

The work is done with many heated knives and patience (To be continued...)

Aucun commentaire:
Enregistrer un commentaire